How To Open E6000 Glue Safely and Easily?
E6000 glue is a powerful adhesive that finds use in various fields like crafts, woodworking, automotive repair, and construction.
However, opening a new tube of E6000 glue can be tricky, as the glue tends to harden and clog the nozzle over time.
Here, I will show you how to open E6000 glue safely and easily, and how to prevent the nozzle from getting stuck in the future.
Know More: How To Remove E6000 Glue?
How To Open E6000 Glue?
Step 1: Prepare the Materials
To open E6000 glue, you will need the following materials:
- A new or partially used tube of E6000 glue
- A pair of scissors or a sharp knife
- A paper towel or a rag
- A toothpick or a needle
- A small bowl of warm water
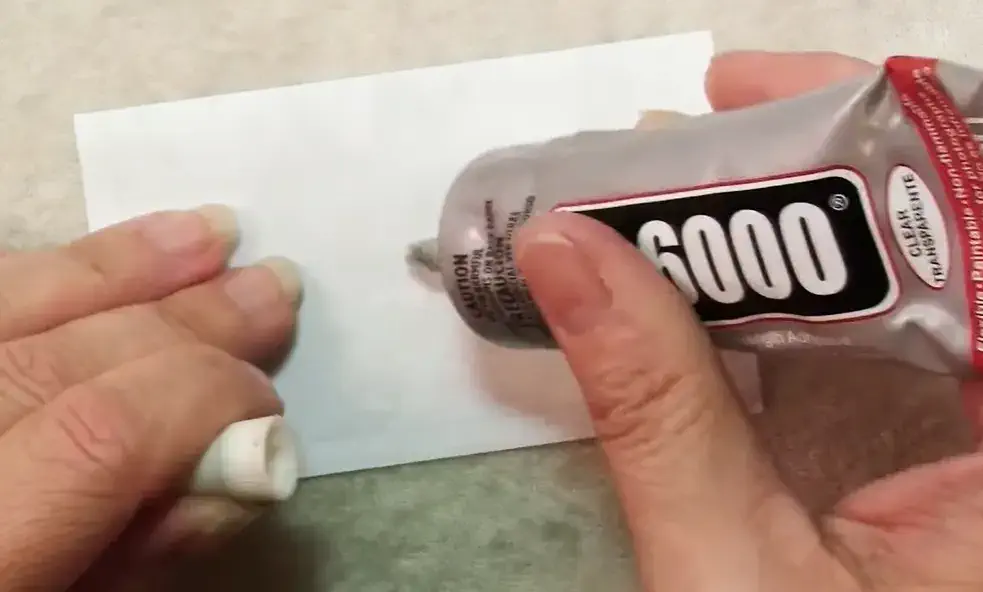
Step 2: Cut Off the Tip of the Nozzle
Begin by carefully trimming the tip of the nozzle using scissors or a knife. Be cautious not to cut too much, as you’ll need some nozzle for applying the glue later.
If it’s tough to cut, you can also use pliers to twist off the tip. Ensure you wipe off any excess glue from the scissors or knife with a paper towel or cloth.
Step 3: Pierce the Seal Inside the Nozzle
Next, use a toothpick or needle to pierce the seal inside the nozzle. This action lets air enter the tube, relieving pressure.
You might need to poke several times until you hear a hissing sound or see some glue coming out. Be gentle to avoid damaging the tube or causing the glue to squirt out unexpectedly.
Step 4: Soak the Nozzle in Warm Water
The final step is to soak the nozzle in a small bowl of warm water for about 10 minutes. This will help dissolve any dried glue inside the nozzle, making it easier to squeeze out.
You can gently squeeze the tube while soaking it to help loosen the glue. After soaking, remove the nozzle from the water and dry it with a paper towel or cloth.
How To Open a Previously Used E6000 Glue Tube?
If you have a previously opened tube of E6000 glue and need to access it again, follow these steps:
- Inspect the nozzle cap to check if it has any dried adhesive blocking it.
- If there’s dried adhesive, use a pair of scissors or a wire cutter to remove the obstructing material.
- Wipe the nozzle clean with a cloth or paper towel.
- then, use the glue as you need.
- After use, ensure the cap is securely in place, sealing the nozzle.
How to Prevent the Nozzle of E6000 Glue from Getting Stuck?
To prevent the nozzle of E6000 glue from getting stuck in the future, you can follow these tips:
- Always store the tube of E6000 glue upright with the cap on.
- Before closing the cap, wipe off any excess glue from the nozzle with a paper towel or a rag.
- After using the glue, insert a toothpick or a needle into the nozzle and leave it there until you need to use it again. This will prevent the glue from hardening inside the nozzle.
- If you notice that the glue is getting thick or hard to squeeze out, soak the nozzle in warm water for 10 minutes before using it.
Know More: How To Make E6000 Glue Dry Faster?
Final Thoughts
E6000 glue is a great glue that can stick almost anything together. But opening a new tube of E6000 glue can be hard, because the glue can dry up and block the hole where it comes out.
By following these easy steps, you can open E6000 glue easily and safely, and keep the hole from getting blocked in the future.