How To Use Slime Rubber Cement?
Slime rubber cement has become a popular choice among craft enthusiasts and DIYers for its versatility and ease of use.
Whether you’re a seasoned crafter or a beginner looking to explore the world of slime, this guide will walk you through the basics of using slime rubber cement to create vibrant and unique projects. Let’s dive in and unlock the potential of this fascinating crafting material.
Know More: Best Rubber Cement
Understanding Slime Rubber Cement
Slime rubber cement is a stretchy and pliable adhesive that is perfect for creating slime with a satisfying texture.
It’s essential to choose a high-quality rubber cement specifically designed for slime-making to ensure optimal results.
Materials You’ll Need
- Slime rubber cement
- Clear glue
- Water
- Mixing bowl
- Measuring cups
- Stirring utensil
- Food coloring (optional)
- Glitter or sequins (optional)
Step-by-Step Guide Use Slime Rubber Cement
Prepare Your Workspace:
Set up a clean and organized workspace to avoid any mess. Lay down protective coverings on surfaces to make cleanup easier.
Measure Ingredients:
Begin by measuring the desired amount of clear glue into your mixing bowl. A common ratio is one part glue to one part rubber cement, but you can adjust this based on your preferences.
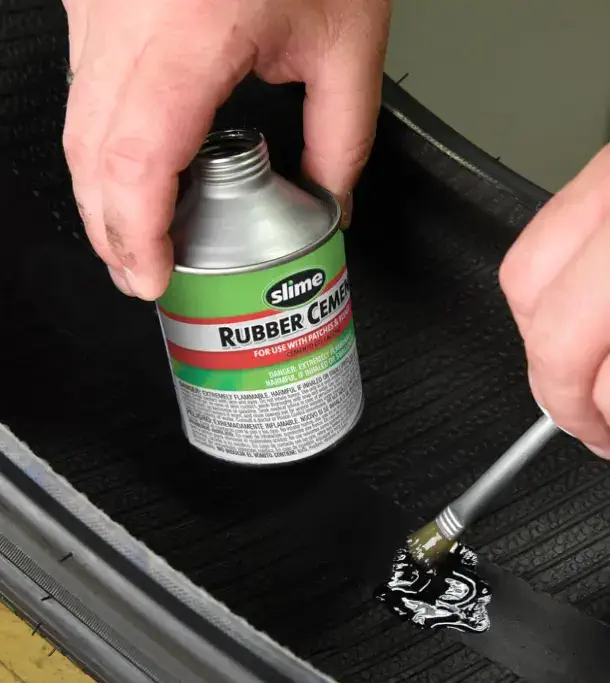
Add Rubber Cement:
Mix the rubber cement into the glue. Use a stirring utensil to combine the two ingredients thoroughly. The rubber cement will give your slime its unique stretchy and pliable properties.
Adjust Consistency:
If the slime is too sticky, gradually add more rubber cement. If it’s too stiff, incorporate a bit more clear glue until you achieve the desired consistency. This step may require some experimentation to find the perfect balance.
Color and Personalize:
Add a few drops of food coloring to achieve your desired hue. You can also incorporate glitter or sequins for a sparkling effect. Mix well to distribute color and embellishments evenly.
Knead and Stretch:
Once your slime is well-mixed, use your hands to knead and stretch it. This process helps to evenly distribute the ingredients and ensures a smooth, satisfying texture.
Store Properly:
Store your slime in an airtight container to prevent it from drying out. This will also keep it fresh for future use.
Final Thoughts
Adding slime rubber cement to your slime-making repertoire opens up a world of possibilities. The stretchy, rubbery texture it provides enhances the sensory experience, making slime play even more enjoyable.
Whether you’re a seasoned slime enthusiast or a newcomer to the world of DIY crafts, incorporating slime rubber cement into your creations is sure to elevate your slime game to new heights.
Unleash your creativity and have a blast making your own rubbery masterpiece!