How to Use Shoe Goo to Repair Your Shoes?
The shoes we wear every day provide comfort, protection, and style to our lives. But they can also get damaged easily from daily wear and tear.
Whether it’s a crack in the sole, a rip in the leather, or a broken heel, shoes can lose their functionality and comfort over time.
Fortunately, there is a simple and affordable way to fix your shoes and extend their lifespan: Shoe Goo Repair Adhesive. Here, I will discuss how to use shoe goo to repair your favorite shoes.
Read More: E6000 vs Shoe Goo
What is Shoe Goo?
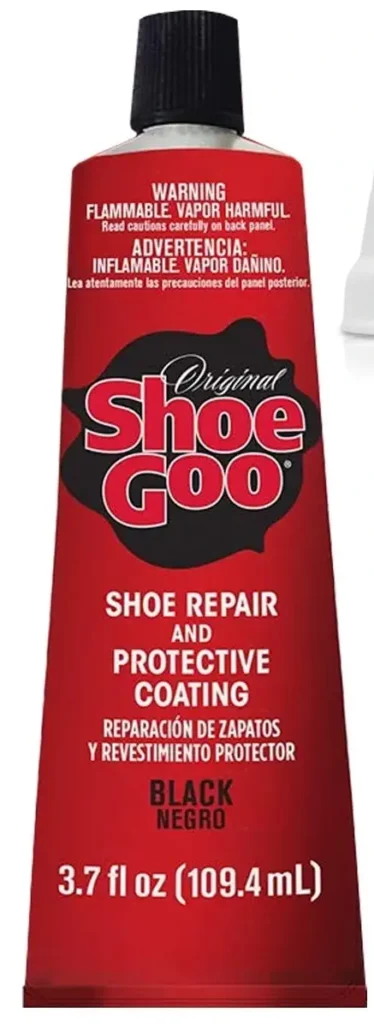
Shoe Goo is a type of adhesive that is specially designed for repairing shoes. It can bond to various materials, such as leather, rubber, vinyl, and canvas, and create a flexible and waterproof seal.
It can also be used to reinforce areas that are prone to wear and tear, such as the toe cap, the heel, or the sides of the shoe.
Shoe Goo comes in a tube with a screw-on cap. It is available in different colors, such as clear, black, or brown, to match your shoes.
It is easy to use and does not require any special tools or skills. All you need is some Shoe Goo, a spatula or your finger, and some water or saliva.
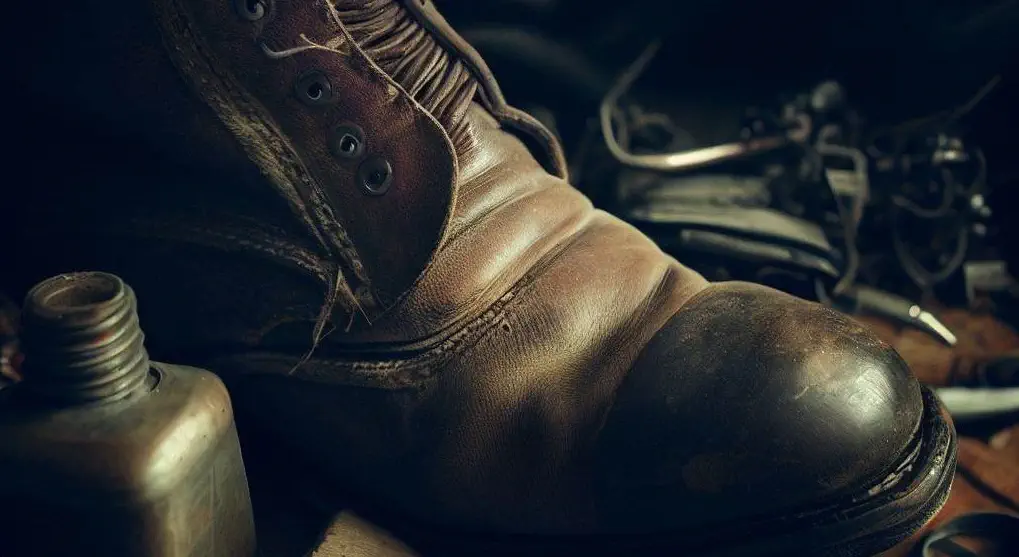
How To Use Shoe Goo on Boots?
Boots are one of the most durable types of shoes, but they can also get worn out from constant use. If you have a pair of boots that need some repair, here are the steps to use Shoe Goo on them:
1. Prepare the affected area
To remove dirt or dust, wipe the boot surface with a damp cloth or brush. If there is any grease or oil on the boot, you can use rubbing alcohol or acetone to wipe it off. Let the boot dry completely before applying Shoe Goo.
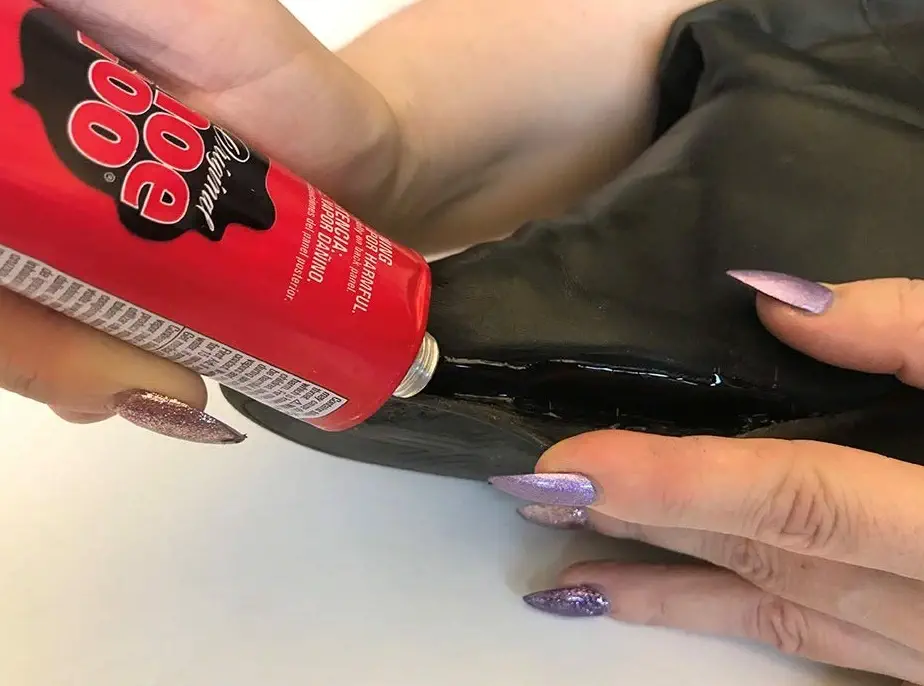
2. Apply Shoe Goo
Squeeze some Shoe Goo onto the affected area, covering it completely. You can use the nozzle of the tube to spread the Shoe Goo evenly or use a spatula or your finger for more precision.
If you are repairing a hole or a tear, you can also apply some Shoe Goo on the inside of the boot for extra strength.
3. Smooth out Shoe Goo
Wet your finger or spatula with water or saliva and gently smooth out the Shoe Goo until it forms an even layer over the affected area.
You can also shape the Shoe Goo to match the contour of the boot if needed.
4. Let Shoe Goo dry
Leave the boot untouched for about 24 hours until the Shoe Goo dries completely and cures. You can use a hair dryer or a fan to speed up the drying time if you want but do not overheat the Shoe Goo.
5. Trim excess Shoe Goo
After 24 hours, you can trim any excess Shoe Goo that may have oozed out of the affected area or formed lumps or ridges.
You can use a sharp knife or scissors to do this, but be careful not to cut into your boot or damage the repair.
6. Enjoy your repaired boots
You have successfully repaired your boots with Shoe Goo. You can now wear them again without worrying about them falling apart or hurting your feet.
How To Use Shoe Goo on Leather?
Shoe Goo is a popular adhesive used for repairing and protecting shoes, including leather ones. Here’s a step-by-step guide on how to use Shoe Goo on leather:
1. Clean the area
Start by cleaning the leather surface thoroughly. You can remove dirt, dust, and grime by cleaning with a mild soap or leather cleaner and a soft cloth or sponge. Before proceeding, let the leather completely dry.
2. Prepare the Shoe Goo
Open the Shoe Goo tube and squeeze out a small amount onto a disposable surface or wax paper. Use a toothpick or a small applicator to mix the Goo slightly if necessary.
3. Apply the Shoe Goo
Using the toothpick or applicator, spread a thin, even layer of Shoe Goo onto the damaged area or the edges that need reinforcement. Ensure that the adhesive covers the entire affected area.
4. Smooth and shape
If you are using Shoe Goo to repair a tear or hole, gently press the edges of the leather together to seal them.
Smooth out the Goo with your finger or a wooden stick to create a neat and even finish. You can also use a damp cloth to help shape and smooth the Goo.
5. Let it cure
Allow the Shoe Goo to dry and cure completely. It usually takes about 24 hours for the drying process to complete, but it may take longer depending on the temperature and humidity.
During this time, avoid putting any pressure on the repaired area.
6. Clean up excess
Once the Shoe Goo has cured, remove any excess adhesive using a sharp knife or scissors. Be careful not to cut into the leather.
7. Polish if desired
After the repair is complete, you can polish the leather to restore its shine and appearance. Use a leather conditioner or polish recommended for your specific type of leather and follow the product instructions.
Note: It’s important to note that while Shoe Goo can provide temporary repairs for leather shoes, it may not be a permanent solution for extensive damage.
If you have major issues with your leather shoes, it’s best to consult a professional cobbler for more substantial repairs.
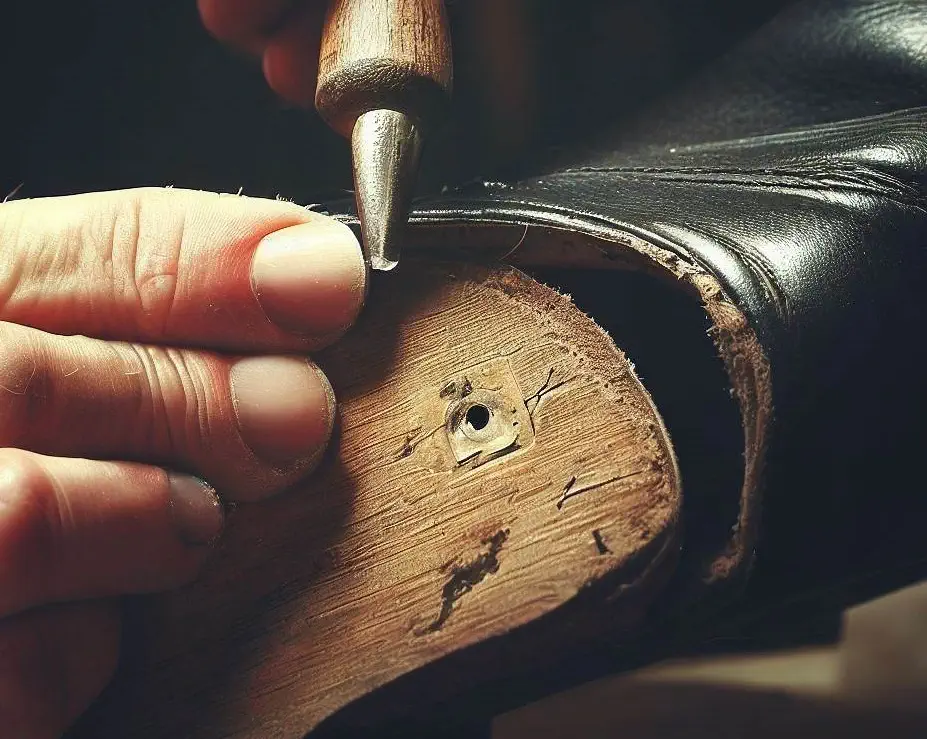
How To Use Shoe Goo on Soles?
Shoe Goo is a popular adhesive used for repairing and reinforcing shoe soles. Here’s a step-by-step guide on how to use Shoe Goo on soles:
1. Clean the sole
Start by cleaning the area of the shoe sole where you intend to apply the Shoe Goo. Use a mild detergent or rubbing alcohol to remove any dirt, debris, or oil from the surface. Allow it to dry completely before proceeding.
2. Prepare the Shoe Goo
The nozzle tip of the Shoe Goo tube should be cut at a 45-degree angle after opening the tube. Start with a small cut, as you can always make it larger if needed.
Make sure not to cut too much, as you want to control the flow of the adhesive.
3. Apply the Shoe Goo
Squeeze a small amount of Shoe Goo onto the area you want to repair or reinforce. The first layer should be thin, then it can be built up if necessary.
Use the nozzle to spread and shape the adhesive as desired. Be careful not to apply too much at once, as the excess adhesive can create a mess and take longer to cure.
4. Smooth and shape
Use a small brush, toothpick, or finger (dipped in a bit of water or rubbing alcohol to prevent sticking) to smooth and shape the Shoe Goo before it starts to cure. This will help achieve a neater finish.

5. Let it cure
Allow the Shoe Goo to cure and dry completely. A variety of factors can affect curing time, including ambient temperature and adhesive amount.
To fully cure, it takes between 24 and 48 hours, but check the instructions on the Shoe Goo packaging for specific recommendations.
6. Trim excess adhesive (optional)
Once the Shoe Goo has cured, you can trim any excess adhesive using a sharp knife or scissors to achieve a clean appearance.
7. Test and use
After the Shoe Goo has fully cured, test the repaired or reinforced area to ensure it’s secure. Put on the shoes and walk around to make sure the bond is strong.
Note: Shoe Goo is primarily designed for temporary repairs and reinforcement. While it provides a strong bond, it may not be as durable as the original sole material.
For more extensive repairs or if the sole is severely damaged, it’s recommended to take your shoes to a professional cobbler or shoe repair shop.
Read More: E6000 vs Gorilla Glue
How To Use Shoe Goo to Repair Heels?
Heels are one of the most fashionable and stylish parts of shoes, but they can also get broken, chipped, or detached from daily use. If you have a pair of shoes that need some heel repair, here are the steps to use Shoe Goo on them:
1. Clean the affected area
You should begin by thoroughly cleaning the heel’s damaged area. Remove any dirt, debris, or old adhesive using mild soap or detergent and warm water. Dry the area completely before proceeding.
2. Apply Shoe Goo
Using a small brush or a wooden stick, apply a thin and even layer of Shoe Goo to the damaged area of the heel.
Ensure that you cover the entire affected area, including any cracks or gaps. Apply gentle pressure to spread the adhesive evenly.
3. Fill the gaps
If there are any deep cracks or gaps in the heel, use Shoe Goo to fill them. Apply a slightly thicker layer of adhesive into the gaps, making sure to press it in firmly to ensure a strong bond.
4. Smooth the surface
After applying the Shoe Goo, use a damp cloth or your finger (dipped in water) to smooth out the surface of the repaired area. This will help blend the adhesive and remove any excess that may have been applied.
5. Let it dry
Leave the heel alone for about 24 hours until the Shoe Goo dries and hardens. The Shoe Goo can be dried with a fan or a hair dryer, but do not overheat it.
6. Test the repair
Once the Shoe Goo has completely dried, check the repair by gently applying pressure to the repaired area. Ensure that the heel is securely attached and that the repaired section feels strong and stable.
Note: Shoe Goo is not a permanent fix, and the repaired heel may not have the same durability as the original. However, it can provide a temporary solution to extend the life of your shoes.
Is Shoe Goo Waterproof?
Yes, Shoe Goo is waterproof. Shoe Goo can be used as a sealer to repair waterproof fabrics and footwear. It also remains flexible and waterproof after drying.
Does Shoe Goo Need to Be Clamped?
No, Shoe Goo does not need to be clamped or held in place while drying; however, if a piece of material is being permanently attached to Shoe Goo, it may be necessary to clamp the two pieces together while the adhesive cures.
How Long Do You Leave Shoe Goo On?
You should leave Shoe Goo on for at least 24 hours before using your shoes. It takes about 24 to 72 hours to dry and cure completely, depending on the thickness of the coat. Shoe Goo takes longer to cure in cold or humid environments.
Final Thoughts
As you have come to the end of the article, I hope you now have a clear understanding of how to use shoe goo to repair your footwear.
Actually, Shoe Goo is an easy and affordable way to repair your shoes and make them last longer. It works on various types of shoes and materials, such as boots, leather, soles, and heels.
All you need is some Shoe Goo, a spatula or a toothpick, some masking tape, and optionally some acrylic paint. Follow the steps above, and you will be able to fix your shoes in no time.