How To Use Contact Adhesive Properly?
Unlike other glues, contact adhesive works by applying it to both surfaces and letting it dry before sticking them together.
This makes it ideal for projects where clamping is difficult or where you need a strong and instant bond.
However, contact adhesive also requires some skill and care to use properly. If you apply too much or too little, or if you don’t align the surfaces correctly, you may end up with a messy or weak result.
In this article, I will show you how to use contact adhesive like a pro and avoid common mistakes.
Read More: How Does Contact Adhesive Work?
What You Need to Use Contact Adhesive
Before you start, make sure you have the following items:
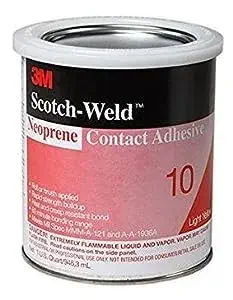
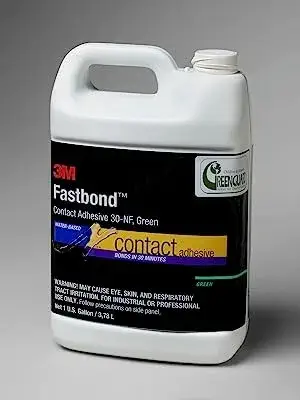
- Contact adhesive of your choice. There are different types of contact adhesives available, such as spray, tube, or can. Choose the one that suits your project and follow the instructions on the package.
- A short stiff brush or roller for applying the adhesive.
- A solvent or cleaner for removing oil and dirt from the surfaces.
- A shop vacuum and tack cloths for removing dust from the surfaces.
- Sandpaper for smoothing rough surfaces.
- Spacers or dowels for positioning the surfaces.
- Rollers or clamps for pressing the surfaces together.
- A mask, gloves, and ventilation mask to protect yourself from the fumes.
How To Use Contact Adhesive Properly?
Here, I will walk you through the steps to master the art of using contact adhesive.
Step 1: Prepare the Surface
The first step is to prepare the surface that you want to glue. This will ensure better adhesion and a smoother finish.
Here’s what you need to do:
- Sand both surfaces if they are rough or uneven. Fine-grit sandpaper should be used to sand in the grain direction. Use a shop vacuum and tack cloth to clean up the excess dust.
- Clean both surfaces with a solvent or cleaner. This will remove any oil, grease, or dirt that may interfere with the glue. Use a rag and wipe in one direction. Dry the surfaces completely.
- Check the temperature of the surfaces and the workspace. The ideal temperature for using contact adhesive is between 65°F and 95°F (18°C and 35°C). If it’s too hot or too cold, the glue may not work properly.
Step 2: Apply the Adhesive
The next step is to apply the adhesive to both surfaces. This is where you need to be careful and precise.
Here’s what you need to do:
- Stir the adhesive before use. This will ensure a uniform consistency and prevent any lumps or bubbles.
- Apply a thin, even coat of adhesive to both surfaces using a short stiff brush or roller. Don’t apply too much or too little, as this may affect the bond strength and appearance. Cover the entire surface area and avoid any gaps or overlaps.
- Wait for the adhesive to become tacky. This usually takes about 10 to 30 minutes, depending on the type of adhesive and the temperature. The adhesive is ready when it is glossy and no longer transfers to your knuckles when touched lightly.
- Apply a second coat of adhesive to glossy surfaces. Some materials, such as plastic or laminate, may require two coats of adhesive to adhere properly. Wait for another 10 to 30 minutes until the second coat is tacky.
Step 3: Bond the Surfaces
The final step is to bond the surfaces together. This is where you need to be quick and accurate.
Here’s what you need to do:
- Place dowels or spacers on top of one surface. Place several parallel spacers along the edges and in the middle. This will help you align the other surface and prevent premature contact.
- Put the other surface on top of the spacers and position it perfectly. Make sure there are no gaps or overlaps between the two surfaces.
- Remove the spacers one by one and press the surfaces together firmly. Start from the center and work your way out to the edges. Use even pressure and smooth out any air bubbles or wrinkles.
- Use rollers or clamps to reinforce the bond. After you have joined the two surfaces, use rollers or clamps along the edges and in the middle to remove any excess air and create a more permanent seal.
Tips and Tricks to Use Contact Adhesive
Here are some tips and tricks to help you use contact adhesive more effectively:
- Test a small area before applying the adhesive to large surfaces. This will help you check if the adhesive works well with your materials and if there are any adverse reactions.
- Work in a well-ventilated area and wear protective gear when using contact adhesive. Contact adhesive can emit strong fumes that may be harmful to your health. When you’re working with it, wear a mask, gloves, and a ventilation mask.
- Don’t touch or move the surfaces after bonding them together. Contact adhesive creates an instant bond that cannot be repositioned or adjusted once it dries. If you make a mistake, you may have to start over or use a solvent to remove the adhesive.
- Maintain a cool, dry environment when storing adhesive. Contact adhesive can deteriorate over time if exposed to heat, moisture, or sunlight. Keep it in a sealed container and away from direct sources of heat or light.
Frequently Asked Questions (FAQs)
Do You Need to Apply Contact Adhesive to Both Surfaces?
Yes, you do. You need to apply contact adhesive to both surfaces and let it dry before sticking them together. This is how contact adhesive works. It creates a bond when two coated surfaces touch each other.
Is Contact Adhesive Permanent?
Contact adhesive forms a strong and durable bond that is often considered permanent. Once the adhesive is properly applied, allowed to dry, and the surfaces are pressed together, the bond created is typically very strong and difficult to break.
How Strong Is Contact Adhesive?
Contact adhesive is a very strong glue that forms an instant and permanent bond when two coated surfaces are pressed together. It can resist heat, water, and chemicals and can bond a wide range of materials.
However, the strength of contact adhesive also depends on the type, quality, amount, surface preparation, and application method of the adhesive.
Final Thoughts
Hopefully, now you know how to use contact adhesive properly. Contact adhesive is a versatile adhesive that can make your DIY projects, repairs, and crafts a breeze.
You can create strong and durable bonds with contact adhesive if you follow the steps outlined in this guide and take the necessary precautions.