How To Use E6000 Glue on Wood?

If you’re looking for a strong and versatile glue that can bond wood and other materials, E6000 adhesive might be the perfect choice for you. It’s a popular glue among DIYers and professionals alike, thanks to its amazing bonding power.
E6000 glue is a handy tool for many wood-related projects. You can use it to fix furniture, make crafts, or do woodworking. But you need to know how to use E6000 glue on wood well to get the best results.
In this article, I will show you the steps to make a strong and lasting bond every time.
Know More: Why Does E6000 Glue Not Working?
How To Use E6000 Glue on Wood?
To use E6000 glue on wood, you will need the following items:
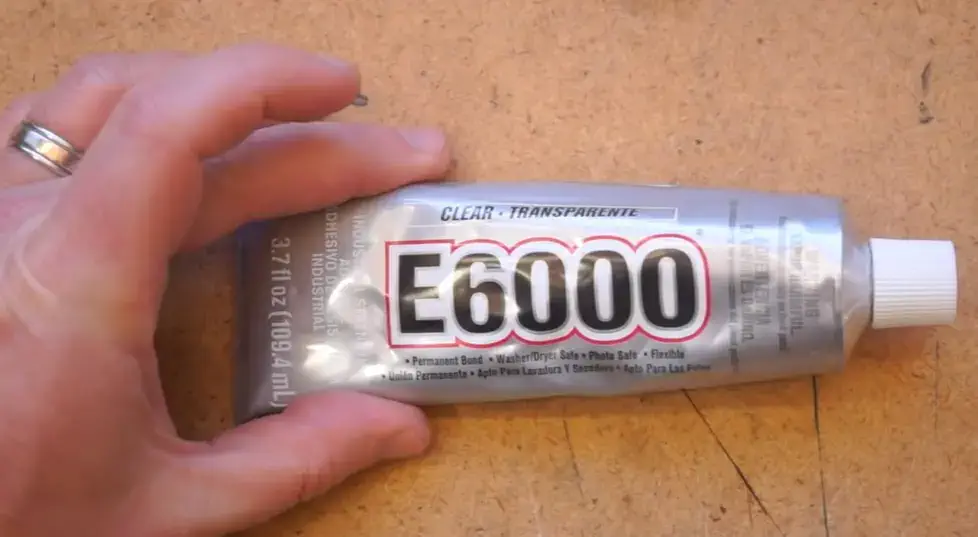
- E6000 glue tube
- Wood pieces or surfaces that you want to bond
- A clean cloth or paper towel
- A toothpick or a small applicator tip (optional)
- A clamp or a heavy object (optional)
- Gloves and a mask (recommended)
E6000 glue is an excellent choice for bonding wood surfaces due to its strong adhesion and versatility.
By following the below-mentioned steps and taking the necessary precautions, you can effectively use E6000 glue on wood for a wide range of DIY projects, from woodworking to furniture repair.
Follow these steps to use E6000 glue on wood:
Prepare the Work Area
E6000 glue has some chemicals that can make fumes, so you need to work in a place with good airflow or wear a mask to keep yourself from breathing in any bad vapors.
Also, wear gloves that you can throw away to stop the glue from getting on your hands.
Clean the Surfaces
Proper surface preparation is crucial for a strong bond. Use a clean cloth or paper towel to wipe the surfaces of the wood that will be glued together.
Remove any dirt, dust, or oils that could interfere with the adhesion process.
Sand if Necessary
If the wood surfaces are rough or uneven, consider using sandpaper to smooth them out. A smooth surface will promote better contact between the wood and the adhesive, resulting in a stronger bond.
Apply the E6000 Glue
Squeeze a small amount of E6000 adhesive onto one of the wood surfaces. You don’t need to use excessive glue; a thin, even layer is usually sufficient.
Avoid applying too close to the edges, as the glue can spread when pressure is applied.
Join the Wood Surfaces
Press the two wood surfaces together firmly. Make sure they are aligned correctly, as repositioning after contact may weaken the bond.
If necessary, use clamps to hold the pieces together until the glue dries.
Allow for Proper Curing Time
E6000 adhesive requires some time to cure and reach its full strength. The curing time can vary depending on factors such as humidity and temperature, but typically, it takes 24 to 72 hours for the glue to fully set.
Avoid putting stress on the bond during this time.
Know More: How To Make E6000 Glue Dry Faster?
Clean Up
Wipe away any excess glue that may have squeezed out from the edges of the joined surfaces. You can use a solvent like acetone or nail polish remover to clean up any stubborn residue.
Test the Bond
After the recommended curing time has passed, test the bond by applying gentle pressure and checking for any signs of weakness.
A well-executed bond with E6000 glue should be robust and long-lasting.
Know More: How To Use E6000 Glue on Glass?
Final Thoughts
E6000 is an amazing glue that can help you with many woodworking projects. You can use it to stick wood to wood or wood to other materials easily. It is also clear, flexible, and waterproof, so you can use it indoors or outdoors.
But the E6000 also has some challenges, such as its smell, flexibility, and hard-to-remove nature. So, you should be careful and follow the directions well.
I hope this article has taught you how to use E6000 glue on wood well and safely. If you have any thoughts or questions, please share them below.