How To Use Rubber Cement?
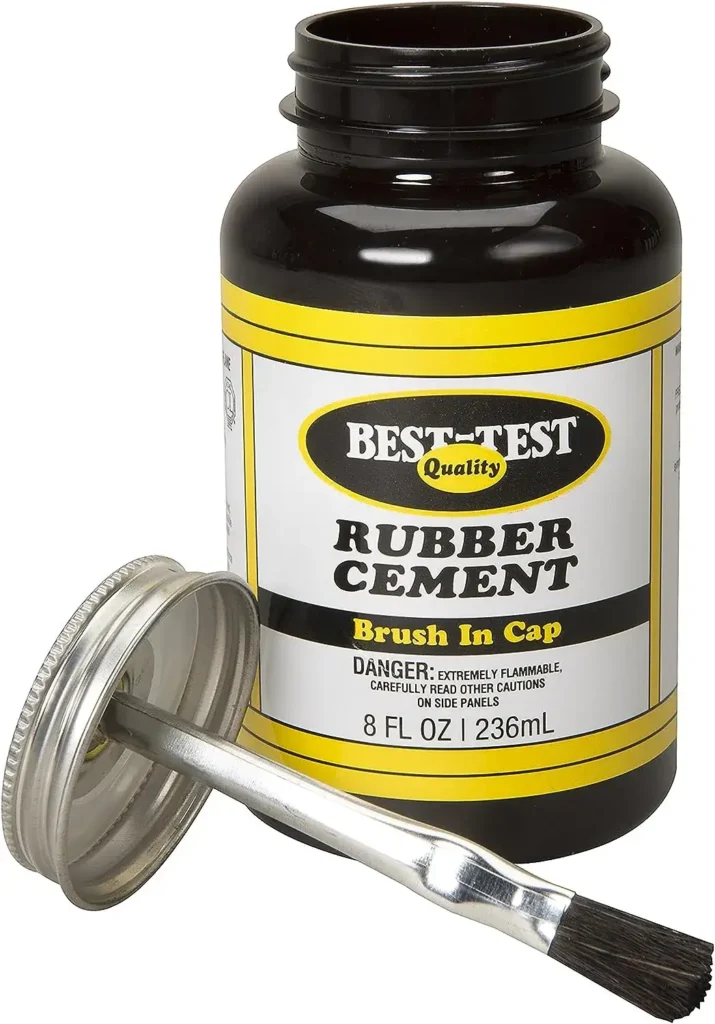
Rubber cement is an adhesive made up of rubber and a solvent. It can be used for various purposes, such as crafts, repairs, and temporary or permanent bonds.
Rubber cement is easy to apply, dries quickly, and can be removed without leaving any residue. However, it is also flammable and toxic, so you should use it with caution and in a well-ventilated area.
In this guide, I will explore the various applications of rubber cement and provide step-by-step instructions on how to use rubber cement effectively.
Read More: Rubber Cement vs Contact Cement
What Will You Need to Use Rubber Cement?
To use rubber cement, you will need the following items:
- Rubber cement
- Rubber cement thinner (optional)
- A brush or applicator
- A tool to scuff up the surface (optional)
- A patch or a new piece of rubber (optional)
- A cloth or paper towel
- A pair of scissors or a knife
How To Use Rubber Cement for Temporary Bonds?
Rubber cement is ideal for temporary bonds, such as in collages or photo mounting, because it allows you to reposition the pieces as needed until the cement dries.
To use rubber cement for temporary bonds, follow these steps:
- Apply rubber cement to one surface only using a brush or applicator. You can also use a thin layer of rubber cement on both surfaces if you want a stronger bond.
- Press the pieces together while the cement is still wet. You can adjust the position of the pieces until you are satisfied with the result.
- Let the cement dry completely. This may take from a few minutes to an hour, depending on the amount and type of rubber cement you used.
- To remove the excess cement, rub it off gently with your fingers or an eraser. You can also use a cloth or paper towel to wipe off any residue.
How To Use Rubber Cement for Permanent Bonds?
Rubber cement can also be used for permanent bonds, such as in cardboard or foam board projects, because it creates a strong and flexible bond that can withstand bending and twisting.
To use rubber cement for permanent bonds, follow these steps:
- Apply rubber cement to both surfaces using a brush or applicator. Make sure to cover the entire area that you want to bond.
- Let the cement dry until it becomes tacky. This may take from a few seconds to a few minutes, depending on the amount and type of rubber cement you used.
- Press the pieces together firmly and smooth out any air bubbles. You can also use a roller or a brayer to ensure even pressure.
- Let the bond cure for the recommended time. This may vary from a few hours to a few days, depending on the type of rubber cement you used.
How To Use Rubber Cement for Rubber Repairs?
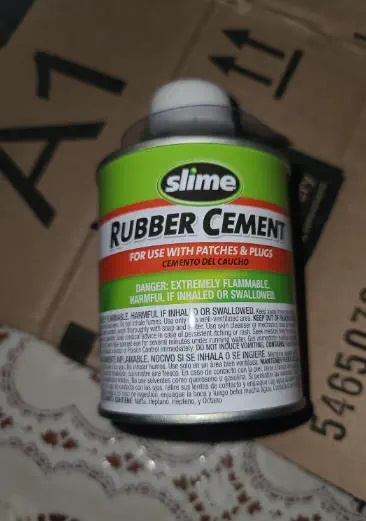
Rubber cement can also be used for rubber repairs, such as in tires or shoes, because it can fill in gaps and cracks and create a durable seal.
However, you should use rubber cement that is specially formulated for that purpose, such as vulcanizing rubber cement.
To use rubber cement for rubber repairs, follow these steps:
- Scuff up the damaged area with a tool, such as sandpaper or a file, to create a rough surface that will help the cement adhere better.
- Apply rubber cement over the damaged area using a brush or applicator. Make sure to cover the entire area and extend beyond the edges of the damage.
- Wait until the cement becomes tacky. This may take from a few minutes to an hour, depending on the type of rubber cement you used.
- Apply a patch or a new piece of rubber over the cemented area and press it down firmly. You can also use clamps or weights to hold it in place.
- Let the repair cure for the recommended time. This may vary from a few hours to a few days, depending on the type of rubber cement you used.
Tips and Tricks to Use Rubber Cement
Here are some tips and tricks to help you use rubber cement more effectively and safely:
- To prevent the rubber cement from drying out in the bottle, close the cap tightly after each use and store it in a cool and dry place. If the rubber cement becomes too thick or dry, you can add a few drops of rubber cement thinner or solvent to restore its consistency.
- To avoid wasting rubber cement, pour only a small amount into a disposable container and use it from there. Do not return any unused glue back into the bottle, as it may contaminate the rest of the glue.
- To avoid bubbles in your bond, smooth out any air pockets with your fingers or a roller before the glue sets.
- To avoid stains on your work surface, cover it with a sheet of wax paper or plastic before applying rubber cement.
- To avoid damage to your photos or papers, use acid-free rubber cement that does not yellow or deteriorate over time.
Read More: Barge Cement vs Rubber Cement
Frequently Asked Questions (FAQs)
How Do You Dilute Rubber Cement?
To dilute rubber cement, you need to add a solvent that can dissolve the rubber and thin out the mixture.
Different types of rubber cement may require different solvents, so you should check the label of the product you are using or contact the manufacturer for the best advice.
Some common solvents that can be used to thin rubber cement are rubber cement thinner, acetone, gasoline, or benzene.
How Long Does Rubber Cement Take to Dry?
The drying time of rubber cement depends on the thickness of the application.
A thin layer of rubber cement will dry in about 5 minutes, while a thicker layer will take about 15 minutes or longer.
Final Thoughts
Rubber cement is a handy and versatile glue that you can use for all kinds of projects, from crafts to repairs to temporary or permanent bonds.
It is simple to use and gives you a flexible and strong adhesive that you can move or take off as you wish.
But you also need to be careful and follow some rules when you use it, because it is flammable and has harmful chemicals.
If you do what these instructions say on how to use rubber cement properly and safely, you can have fun with it without any trouble.