How To Use Contact Cement Properly?
Contact cement is an excellent adhesive for DIY enthusiasts who want to bond different materials quickly and permanently.
Unlike other types of glue, contact cement does not need clamping or drying time. It works by creating an instant and permanent bond when two coated surfaces are pressed together.
However, contact cement also requires careful preparation and application to ensure a successful result.
In this article, I will show you how to use contact cement correctly and safely for your DIY projects.
Read More: How Does Contact Cement Work?
What You Will Need to Use Contact Cement?
Contact cement works differently from other adhesives because it needs to be applied to both surfaces and allowed to dry before joining them together.
The adhesive itself is not sticky, but it forms a strong bond when it comes into contact with another layer of the same adhesive.
Therefore, it is important to apply the adhesive evenly and accurately, as there is no room for adjustment once the surfaces touch.
To use contact cement properly, you will need the following tools and materials:
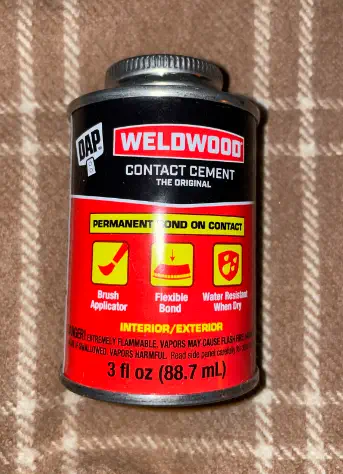
- Contact cement (either solvent-based or water-based)
- A brush, roller, or spray gun for applying the adhesive
- A clean cloth or rag for wiping off excess adhesive
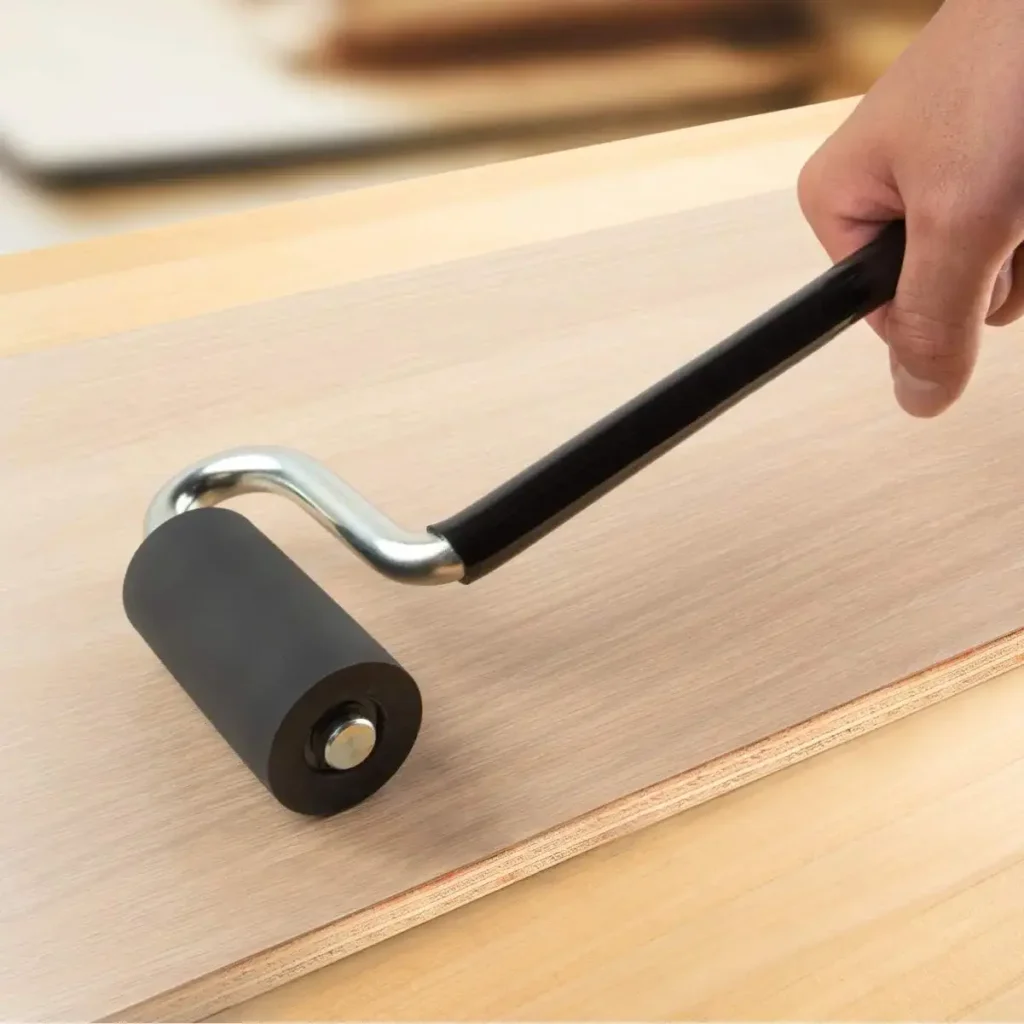
- A J-roller or a pinch roller for applying pressure to the bonded surfaces
- A utility knife or a router for trimming the edges of the laminated material
- A well-ventilated work area and protective gloves and eyewear
Step-by-Step Guide on How to Use Contact Cement
The steps for using contact cement are as follows:
Step 1: Prepare the surfaces
Make sure the surfaces are clean, dry, and free of dust, grease, or oil. If the surfaces are uneven or rough, sand them lightly to smooth them out.
If the surfaces are glossy or painted, scuff them with sandpaper or steel wool to create a better bond.
Step 2: Apply the adhesive
Stir the contact cement well before using it. Apply a thin and uniform coat of adhesive to both surfaces using a brush, roller, or spray gun.
Avoid applying too much adhesive, as this can cause bubbles or wrinkles in the bond.
Also, avoid applying too little adhesive, as this can result in weak spots or gaps in the bond.
Step 3: Let the adhesive dry
Wait until the adhesive is completely dry before joining the surfaces together.
The drying time depends on the type of contact cement, the temperature, and the humidity of the work area.
You can test if the adhesive is dry by touching it with your finger. If it feels tacky but does not stick to your finger or leave any residue, it is ready to bond.
The typical drying time ranges from 15 to 20 minutes for solvent-based contact cement and from 30 to 40 minutes for water-based contact cement.
Step 4: Join the surfaces
Carefully align the surfaces and press them together firmly.
Once they touch, they will bond instantly and permanently, so make sure they are positioned correctly before joining them.
You can use dowels or spacers to keep the surfaces apart until you are ready to bond them.
You can also use masking tape or clamps to hold the surfaces in place temporarily while you align them.
Step 5: Apply pressure
Use a J-roller or a pinch roller to apply even pressure over the entire bonded area.
This will ensure a strong and smooth bond without any air bubbles or gaps. Start from the center and work your way out to the edges.
Step 6: Trim the edges
Use a utility knife or a router to trim off any excess material from the edges of the laminated surface. Be careful not to cut into the substrate or damage the bond.
Step 7: Clean up
Wipe off any excess adhesive from the tools and materials with a clean cloth or rag. Dispose of any leftover adhesive according to local regulations.
What Is the Best Way to Spread Contact Cement?
The best way to spread contact cement is to use a solid roller or a spreader.
A solid roller is a hard rubbery tool that can apply contact cement evenly and quickly.
A spreader is a flat plastic or metal tool that can scrape off the excess contact cement and create a thin and uniform layer.
You should avoid using a foam or short-nap roller, as they are difficult to clean and may flake off.
You should also apply contact cement to both surfaces that you want to bond and let them dry before pressing them together.
Read More: How Long Does Contact Cement Take to Dry?
What Do You Use to Dilute Contact Cement?
To dilute contact cement, you should use a commercial brand of thinner that is compatible with the type of contact cement you are using.
Manufacturers of contact cement often offer cement thinners under the same brand name or recommend a particular thinner.
You should follow the instructions on the label of the thinner and apply it in a well-ventilated area.
You should not use water, lacquer thinners, or other solvents that react negatively with contact cement or produce harmful fumes.
Final Thoughts
Mastering the art of using contact cement opens up a world of creative possibilities for your DIY projects.
Its versatility, strong bonding capabilities, and relatively easy application make it a must-have adhesive in your toolbox.
Remember to choose the right type of contact cement for your project, follow proper safety precautions, and take your time to ensure a perfect bond.
With these steps in mind, you’ll be able to use contact cement properly and safely.